Your RV roof is your first line of defense against water damage—and neglecting it is one of the most expensive mistakes RV owners make. Small cracks or loose sealant can quickly turn into major leaks that cost thousands of dollars to repair or even require a full roof replacement.
The good news? With a few simple maintenance steps, you can keep your RV roof in great shape and avoid those nightmare repairs. We spoke with certified RV technician Jason Jordan, one of the pros listed on RV Help, to share exactly what you should be doing.
To help you stay on schedule, the RV Help app's free maintenance tracker lets you log each inspection and cleaning, and set reminders for your next roof check so this critical maintenance never gets overlooked.
Why RV Roof Maintenance Matters
“Stay on top of it, and it’s simple. Let it go, and that’s when the nightmare starts,” Jason explains. Water intrusion isn’t just a minor inconvenience—it can cause rotting wood in your roof and walls, promote mold and mildew, lead to delaminated fiberglass, and even result in extensive structural damage.
Routine cleaning and inspections are the key to catching small problems early. By dealing with issues right away, you can prevent them from turning into expensive repairs that are costly to fix and decrease the value of your RV.
Although the basic steps of roof maintenance are the same for every RV, it helps to understand the type of roof you’re working with:
TPO Roofs: Popular because they’re easy to clean and resist dirt, but their seams should be checked regularly for separation.
Rubber (EPDM) Roofs: Extremely durable and typically don’t require recoating, but they do need consistent cleaning and sealant inspections.
PVC Roofs: Share many of the same benefits as TPO, including strong resistance to mold and mildew, but they still require routine inspections around edges and seals.
Fiberglass Roofs: Sturdy and long-lasting but may eventually develop oxidation; if you begin to see exposed fibers, it’s time to bring in a professional for a recoating.
No matter which type of roof you have, the approach to maintenance is the same: keep it clean, inspect it regularly, and seal it before small issues become major problems.
Step 1: Clean Your Roof Twice a Year
Regular cleaning is the first line of defense in preventing roof damage. Aim to clean your roof at least twice a year, or more often if you park under trees or travel in dusty environments.
How to clean your RV roof:
Use an RV-safe cleaner formulated for your roof type.
Scrub gently with a soft-bristled brush to remove dirt and grime.
Rinse thoroughly with water to wash away residue.
While you’re on the roof, take a few minutes to clean your slide toppers and awnings. Dirt and debris can build up and lead to premature wear if ignored.
Step 2: Maintain Awnings and Slide Toppers
Your roof maintenance routine should also include a quick check of your awnings and slide toppers. Clean them regularly with mild soap and water—Jason recommends Dawn dish soap for this task—and let them dry completely before rolling them back up.
Never allow water to pool on an awning. They are designed for shade, not heavy rain, and pooled water can stretch or tear the fabric. If you notice damage to an awning or slide topper, Jason strongly recommends hiring a professional for repairs. “The springs in awnings are under a lot of tension,” he says. “If you don’t know what you’re doing, you could get hurt.”
Step 3: Inspect Gutters and Screws
While you’re already on the roof, take a few minutes to check the gutters and fasteners. Clogged gutters can force water back toward the roof instead of draining away, which increases the risk of leaks. Remove any leaves, dirt, or debris so water can flow freely.
You should also look for any screws around the roof’s perimeter that may have started to back out. Loose screws can create small openings that let water seep in. If you find any, tighten them gently. To keep water from leaking around the screw heads, you can apply a small dab of RV-safe sealant over each one. This is a simple preventive step, and if you’re not comfortable doing it yourself, you can always call a professional to handle it.
Step 4: Inspect and Re-Seal the Roof
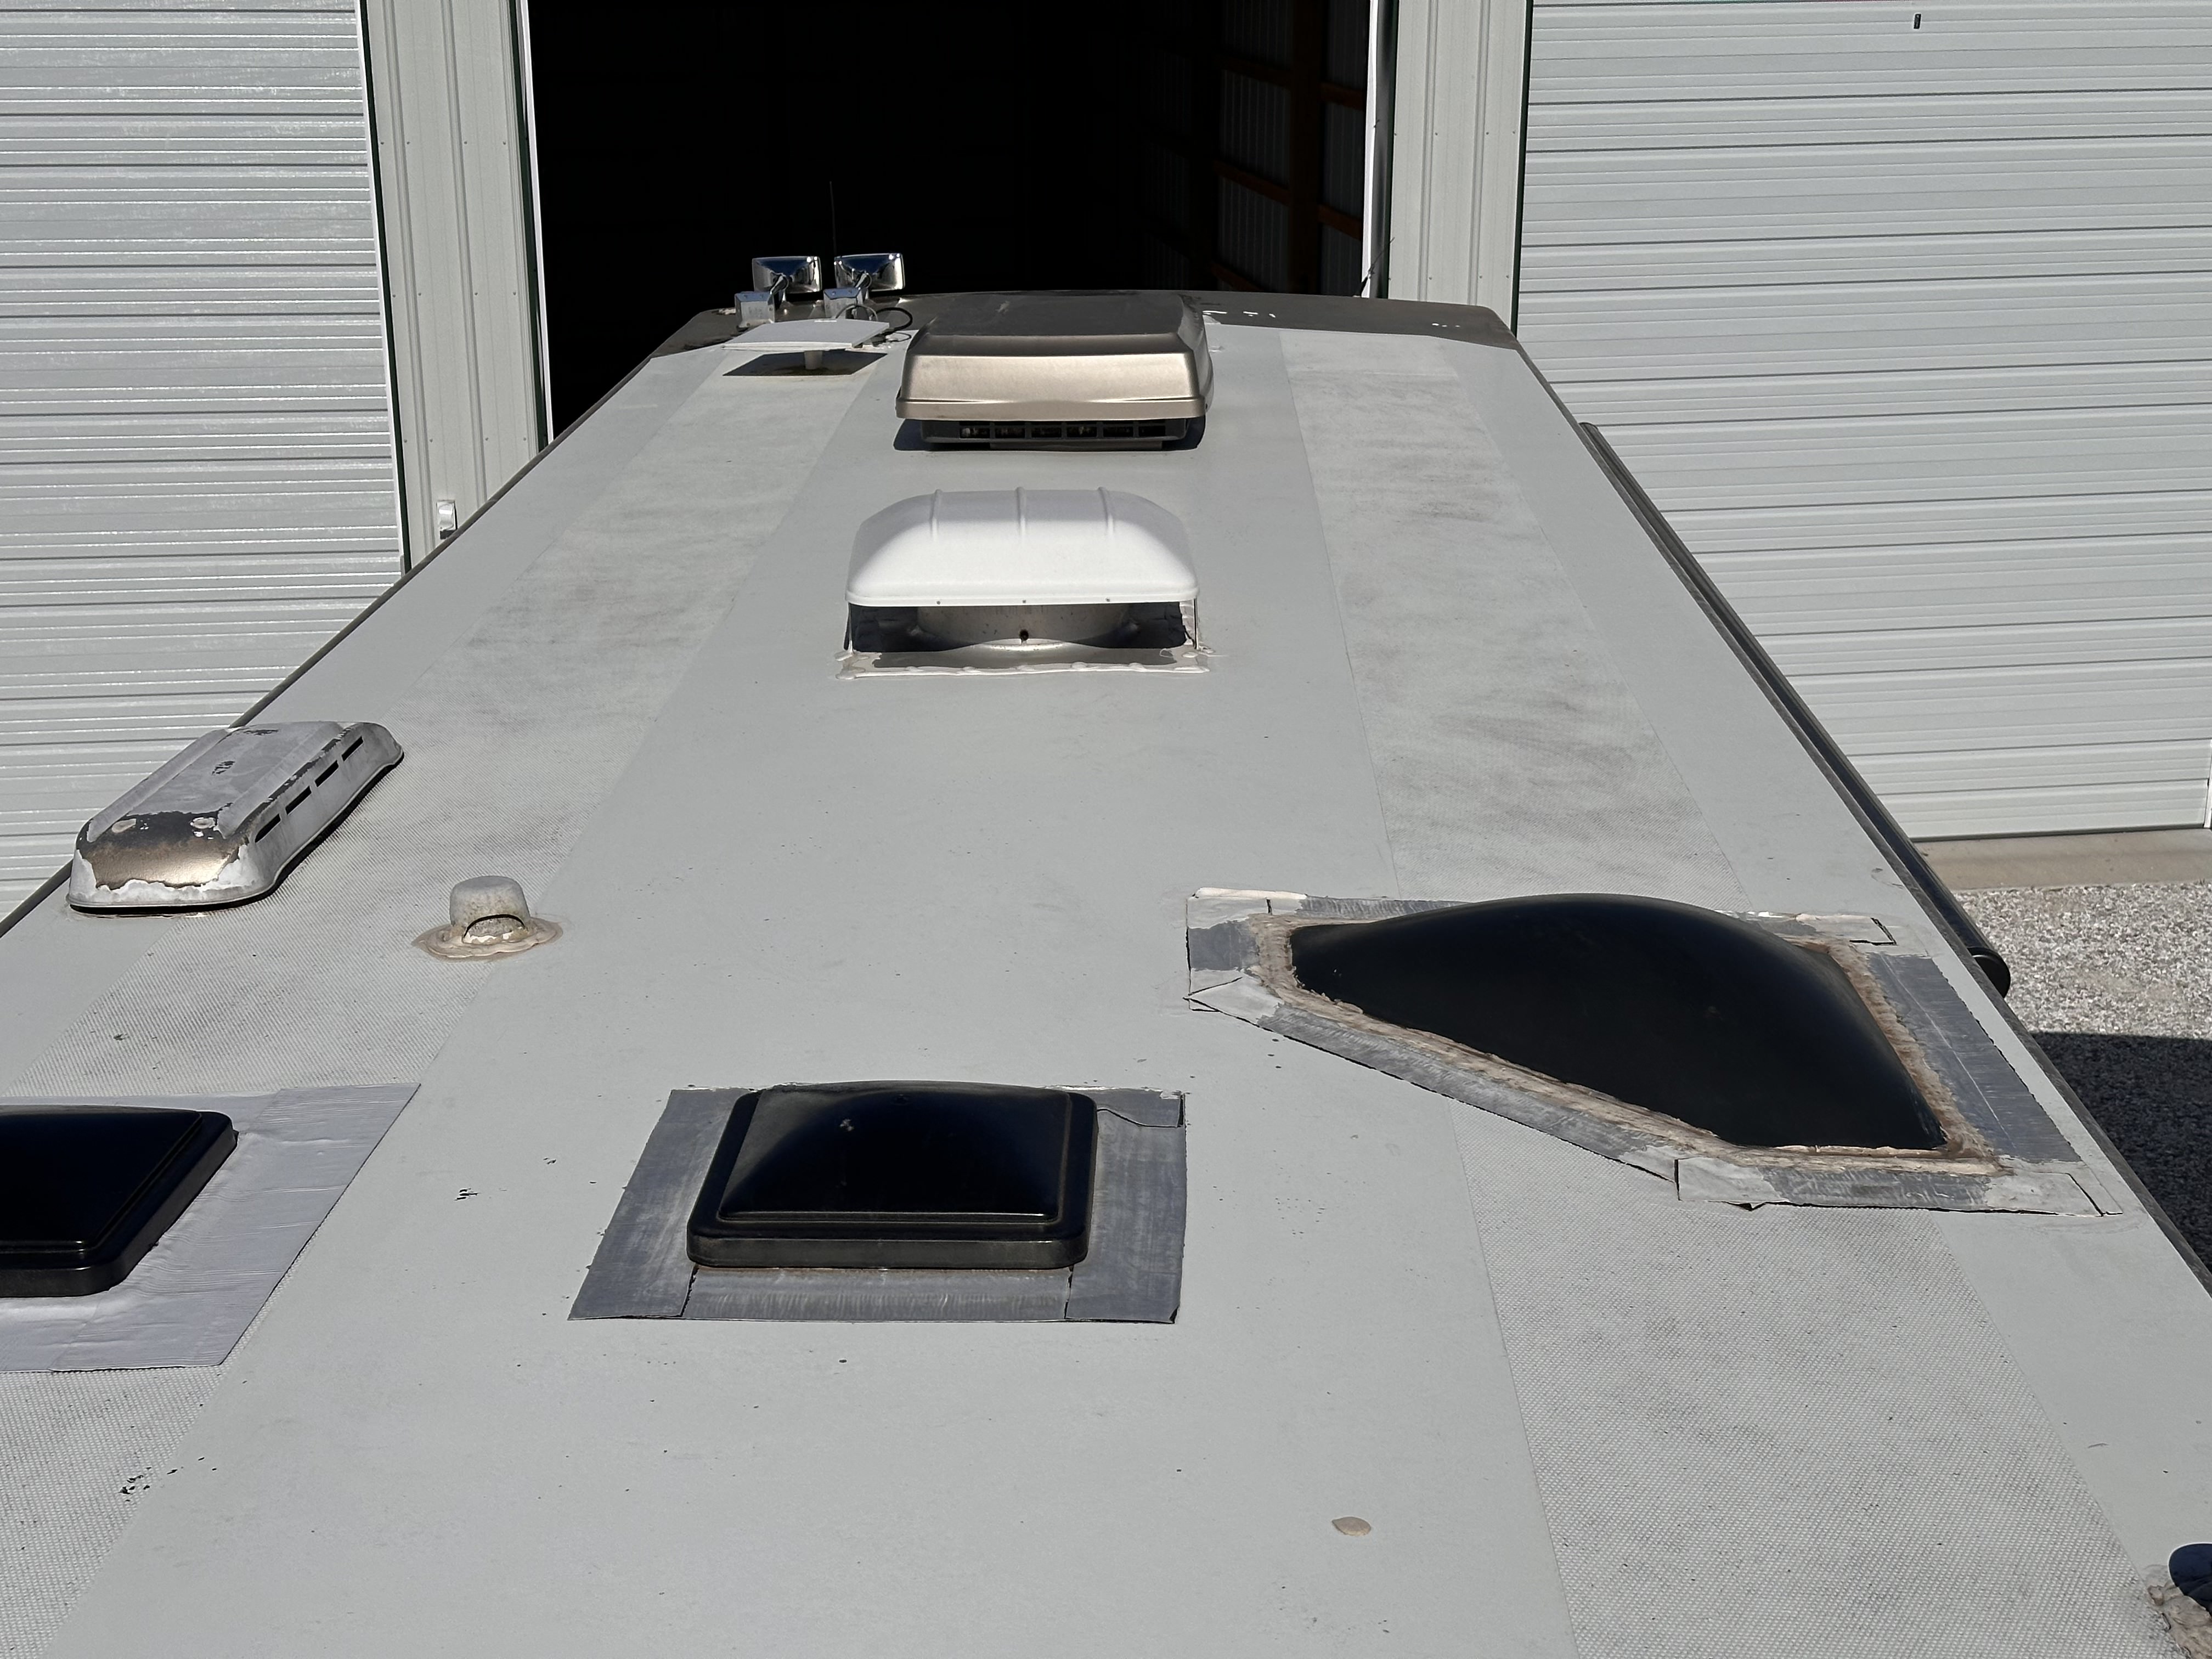
After cleaning, inspect your roof for damage. Get on your hands and knees to look closely at seams, vents, skylights, and edges.
Check for:
Cracks or gaps in existing sealant
Loose or lifting patches from previous repairs
Small tears in the roofing material
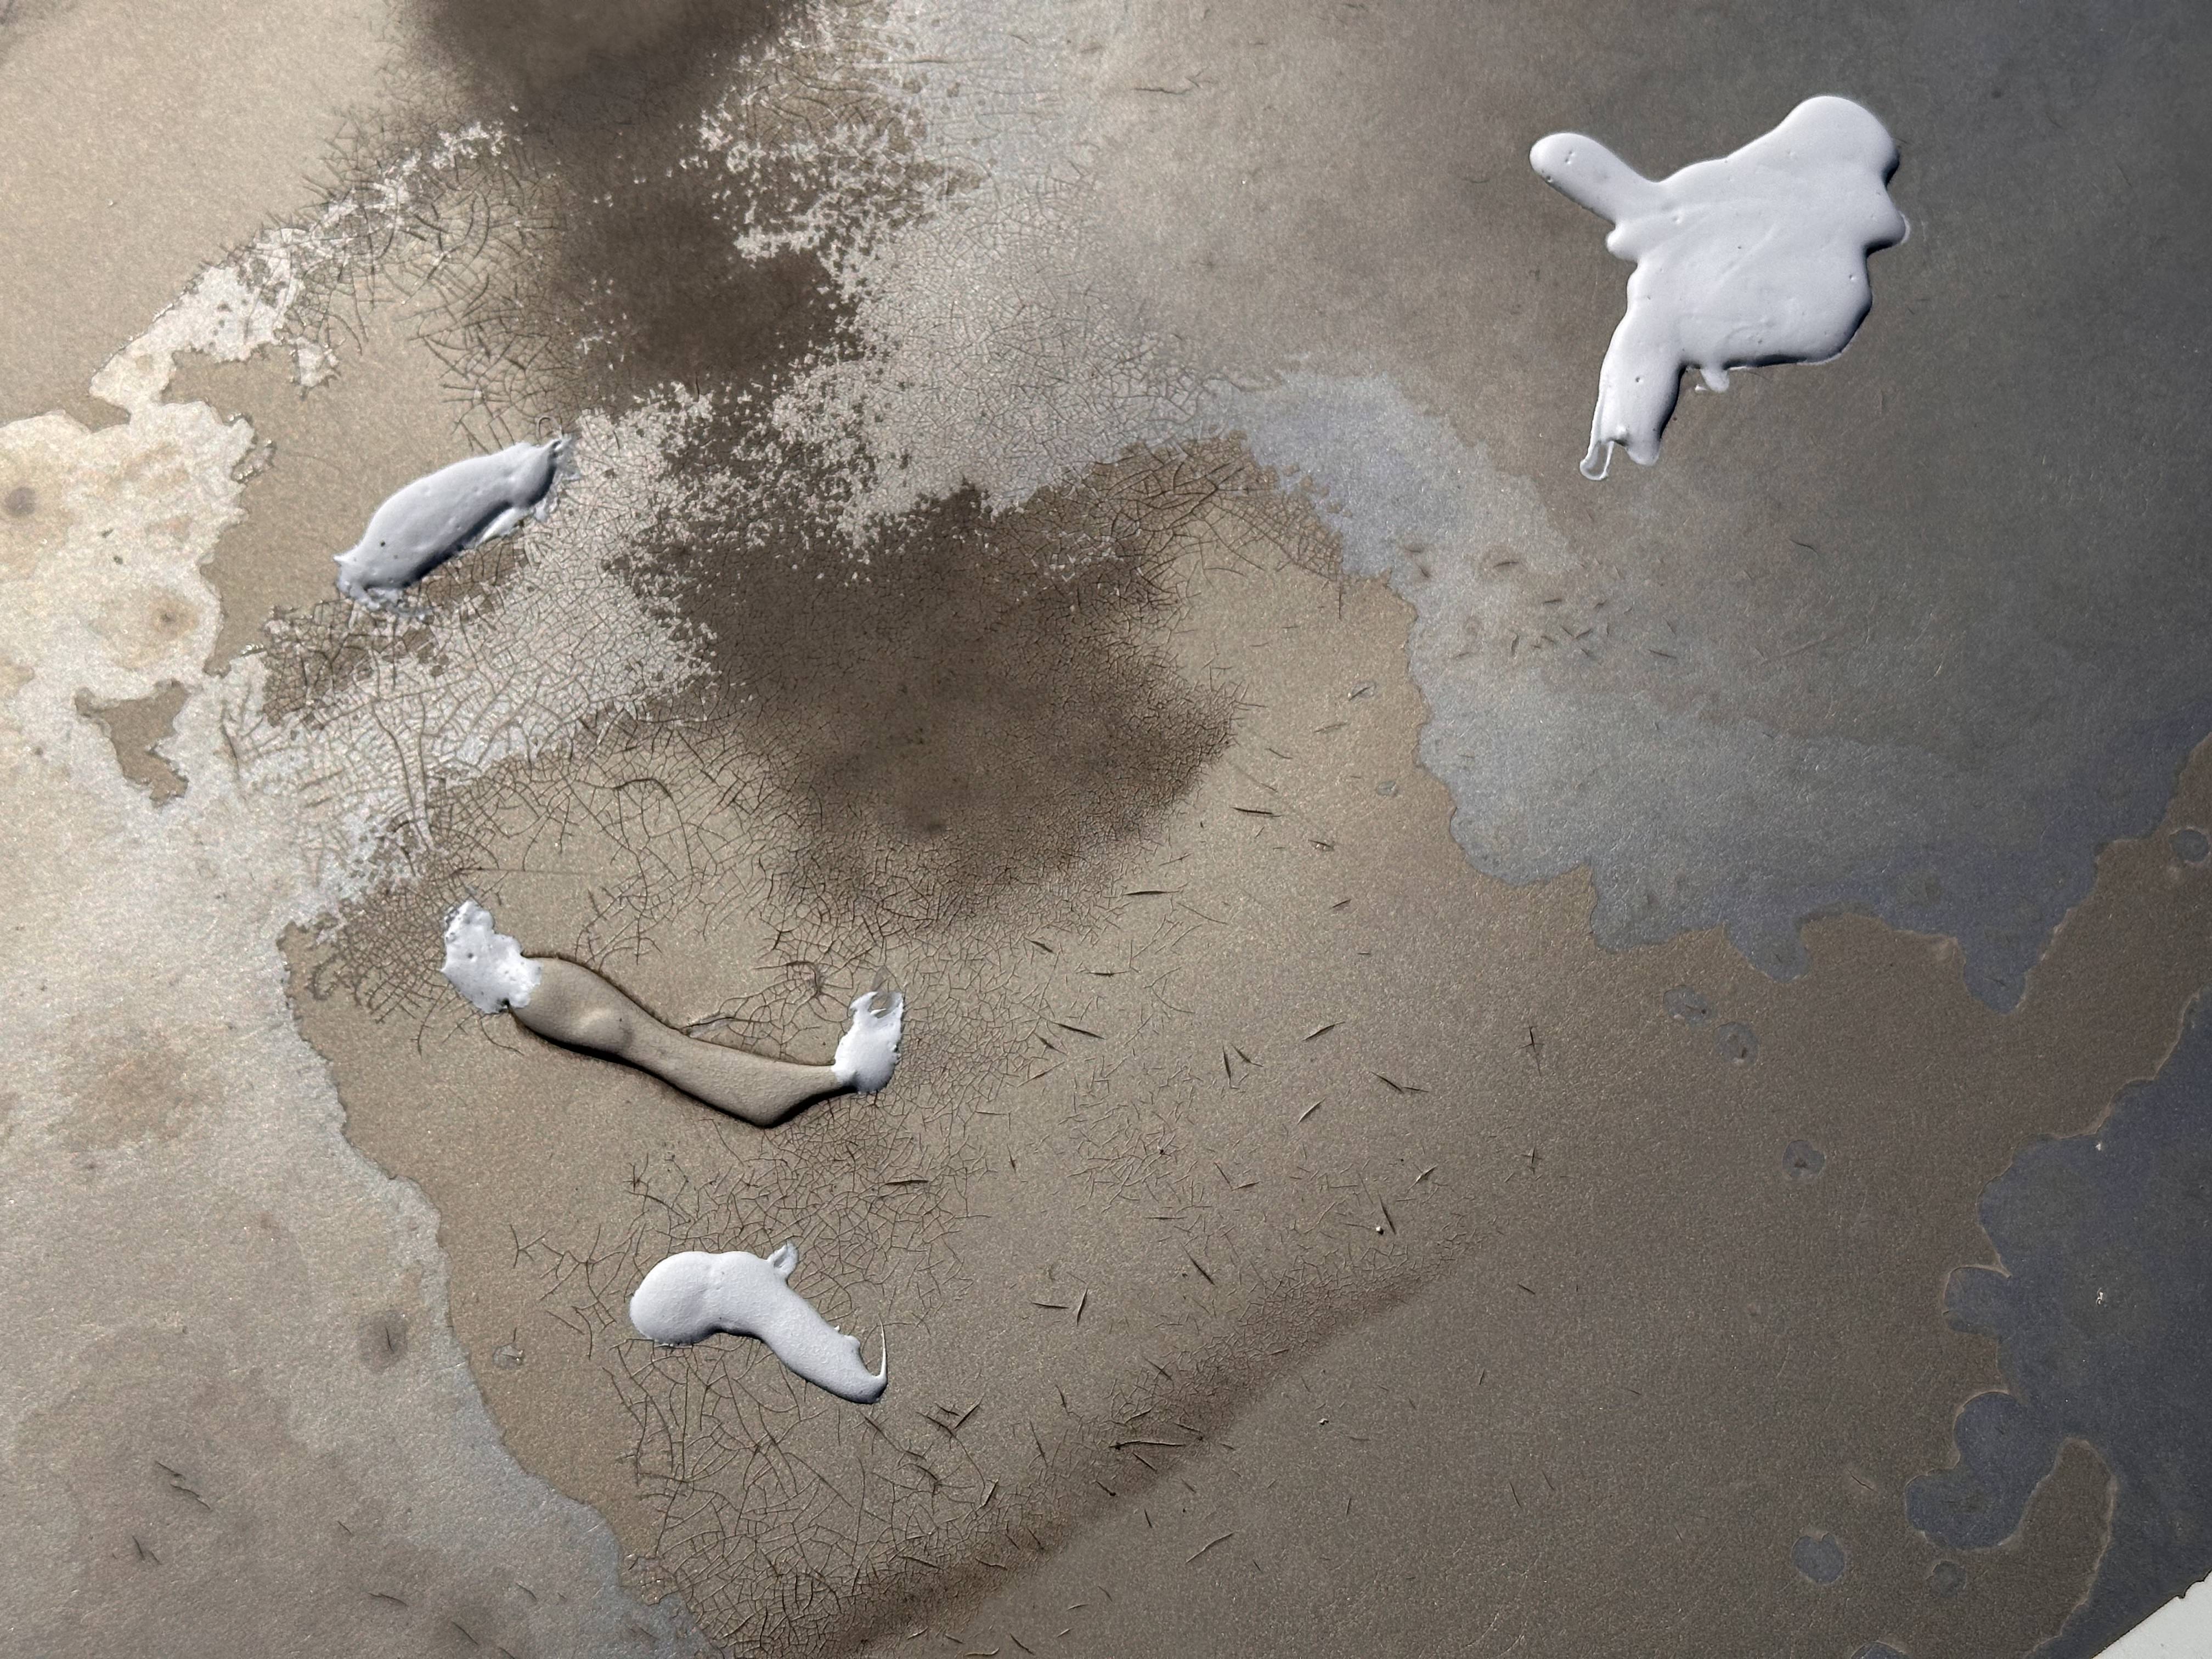
When sealing, always use self-leveling lap sealant instead of household silicone. Silicone doesn’t bond well to RV roofing materials and can peel away over time, while lap sealant is designed to adhere properly, stay flexible, and flow into small cracks for a watertight seal. For vertical surfaces, such as the edges of your roof, use RV caulk instead.
If you find a small tear:
Clean the area thoroughly.
Apply butyl tape to cover the tear.
Seal around the edges with self-leveling lap sealant.
Take a photo of the repair for your records, especially if you plan to sell your RV in the future.
Don't trust yourself with this step? Most of the techs on RV Help offer roof repair and re-sealing services. Click here to find and book service with someone in your area.
Special Considerations for Fiberglass RV Roof Maintenance
Fiberglass roofs require slightly different care than other types of RV roofs. While they generally don’t need frequent sealing, they can oxidize over time. If you notice a chalky surface or see fibers showing through, it’s a sign that your roof needs professional attention.
Recoating a fiberglass roof is not a DIY-friendly project. If the coating isn’t applied correctly, it won’t bond properly, and you could end up making the problem worse. For fiberglass roof restoration, it’s best to contact a certified RV tech who has the right tools and experience to do it correctly the first time.
Pro Tip: Keep Emergency Supplies on Hand
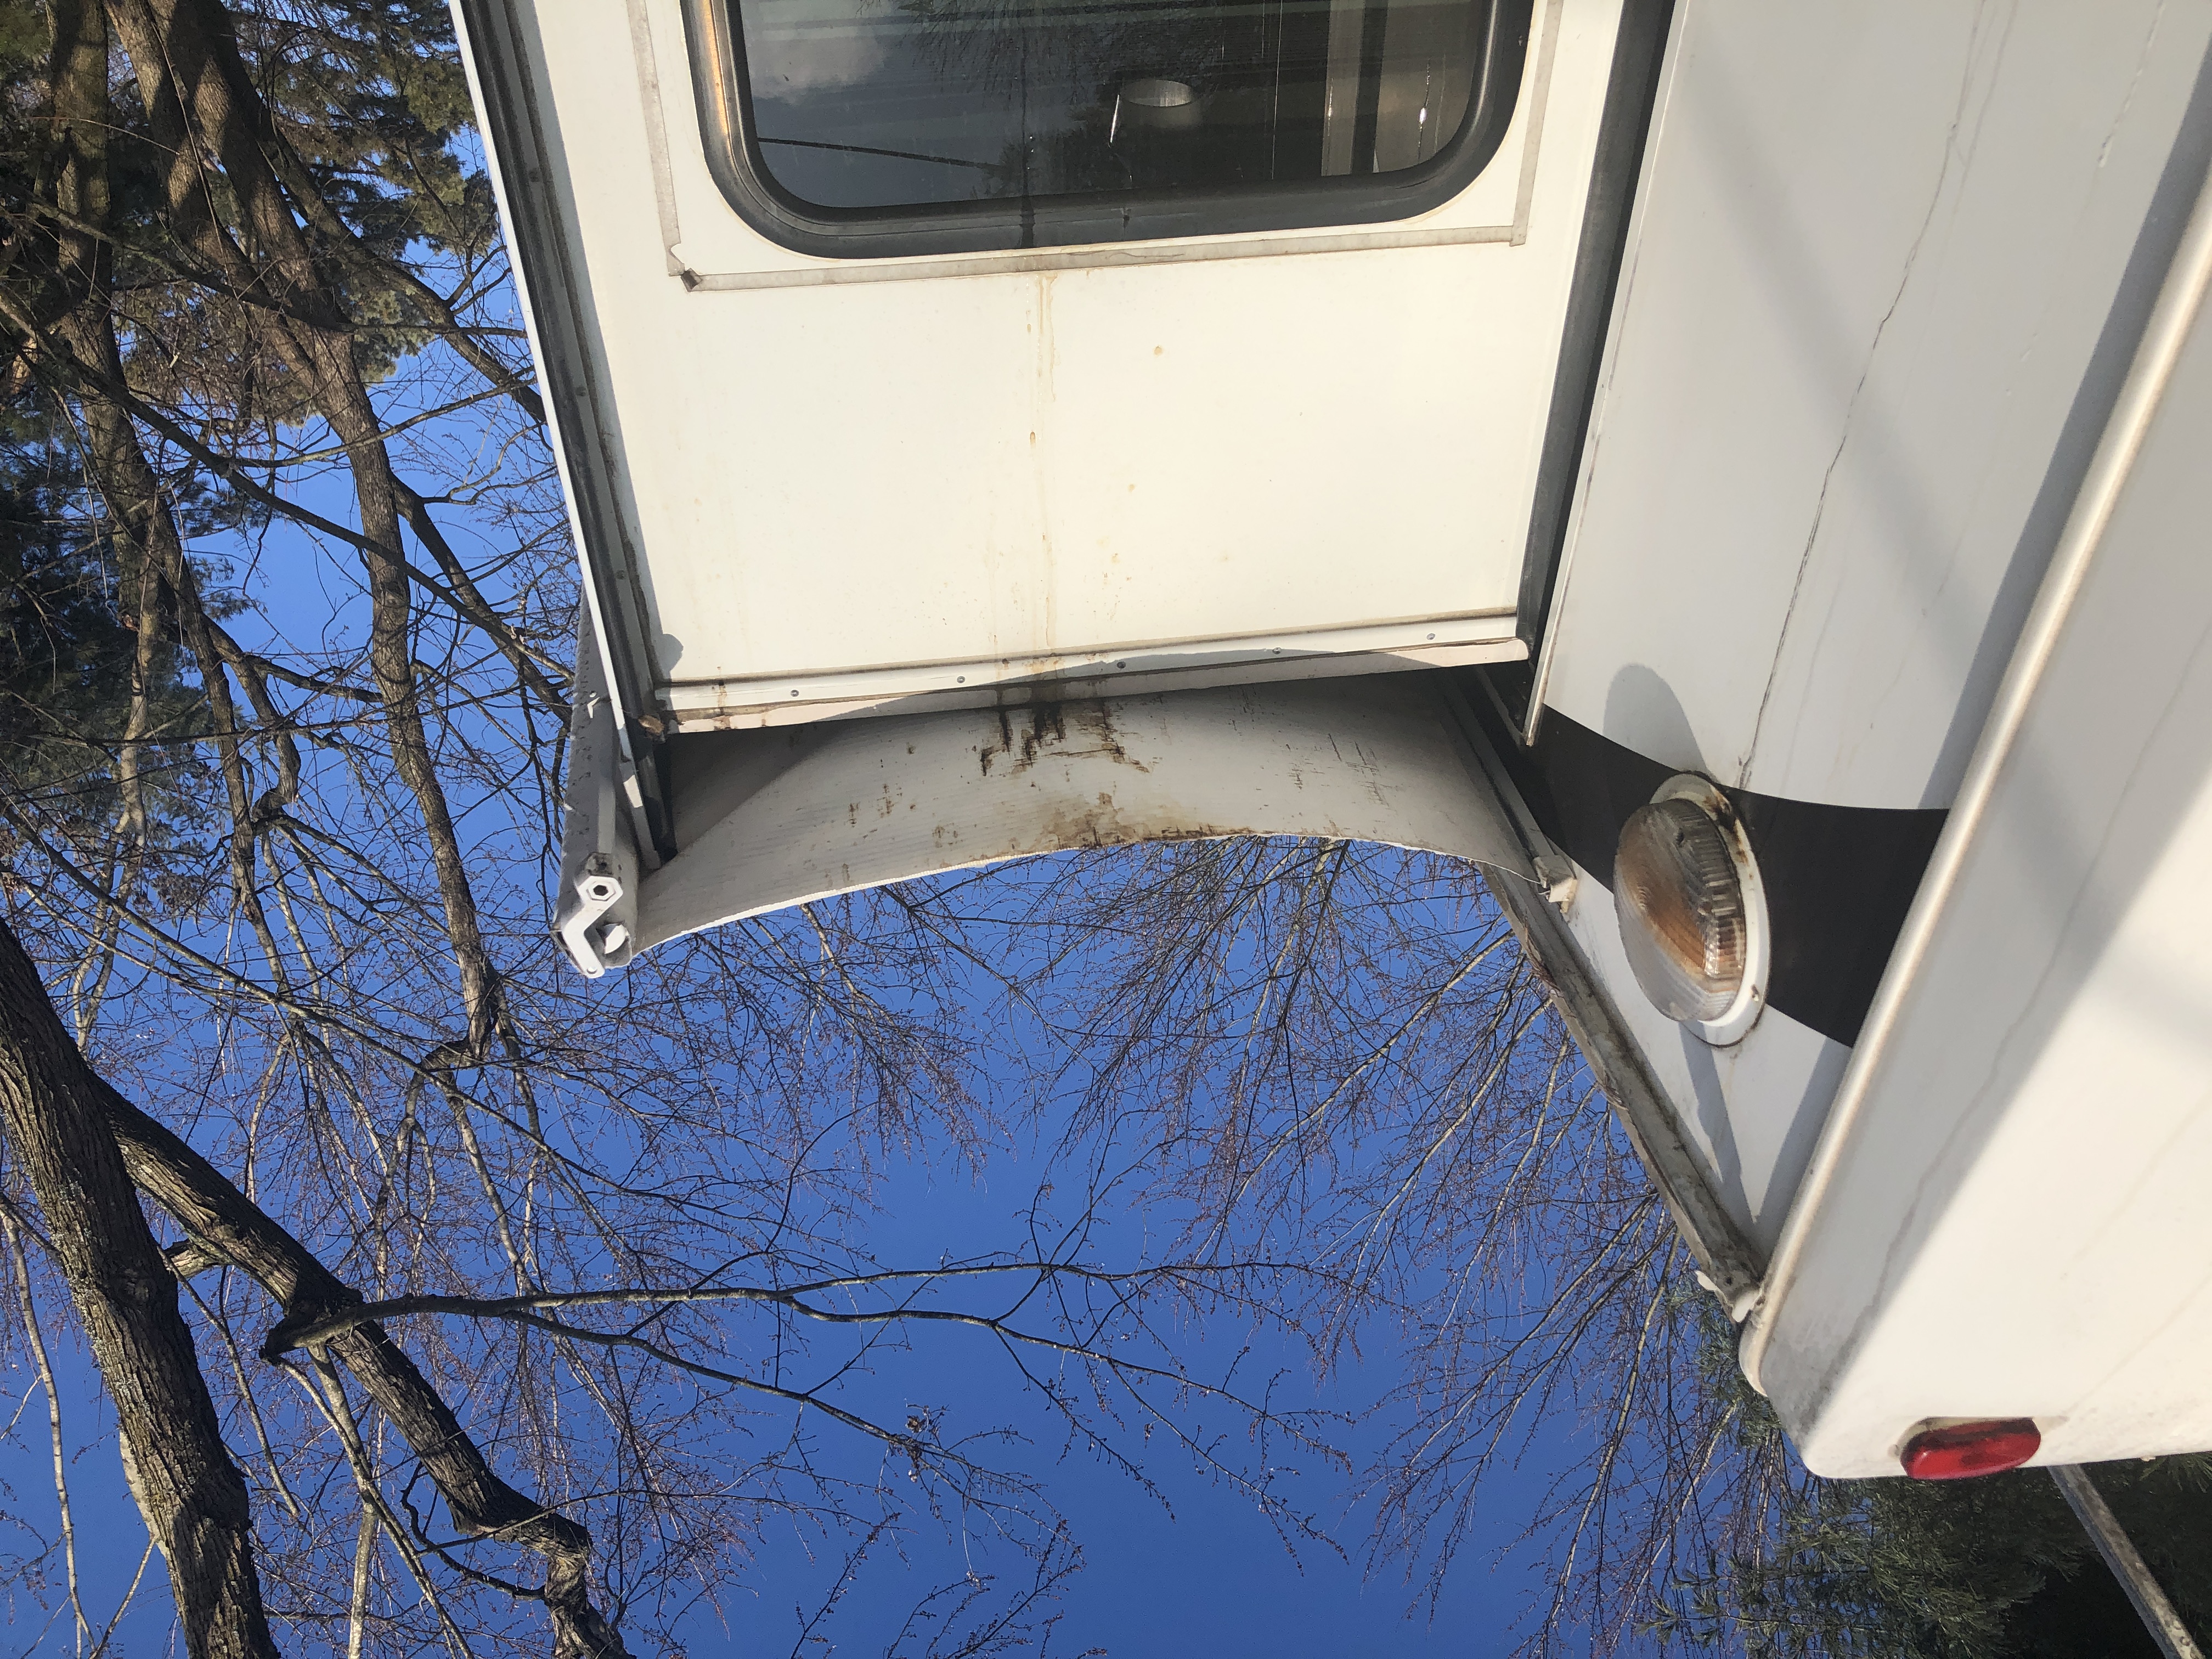
Even if you don’t plan to do major roof repairs yourself, it’s smart to keep a few essential supplies in your RV. These items allow you to quickly patch a puncture or tear—like the kind that can happen if you accidentally drive under low branches—so you can stop water from getting in right away, even if you still call a professional later for a more permanent repair.
What to keep in your emergency roof repair kit:
Butyl tape
Self-leveling lap sealant
RV caulk (for vertical edges)
A plastic putty knife for smoothing sealant
Store these supplies inside your RV, not in an exterior storage bay. As Jason explains, “Don’t leave sealant in a hot storage bay. Heat will ruin it before you ever need it.”
Having these items handy means you can prevent small roof damage from turning into a major leak while you wait for a professional repair.
Track Roof Maintenance in the RV Help App
With roof inspections recommended twice a year—plus additional checks after storms or when parked under trees—it's easy to lose track of when you last cleaned and sealed your roof. The RV Help app's free maintenance tracker solves this by letting you log each inspection and set custom reminders for your next scheduled check.
The app also includes step-by-step instructions for roof maintenance tasks, so you'll always have guidance when it's time to inspect seams or apply sealant. And if you need to reference photos of previous repairs, your roof warranty information, or notes about problem areas, you can store all of that documentation in the app's virtual glovebox for easy access when you need it.
Protect Your Investment with Regular Roof Care
Your RV roof takes a beating from sun, rain, and road vibrations, but with a consistent maintenance routine, you can protect it from costly damage. Cleaning it twice a year, inspecting for issues, keeping the gutters clear, sealing any cracks, and carrying an emergency repair kit will go a long way toward avoiding expensive roof repairs or replacements.
If you’re ever unsure about a repair or spot damage you don’t feel confident fixing yourself, don’t wait until it gets worse. Search RV Help to find certified mobile RV technicians who can reseal or repair your roof wherever you’re parked.
Ready to stay on top of your roof maintenance? Download the RV Help app for iOS or Android to track inspections, set twice-yearly reminders, and store photos of repairs and warranty information in your virtual glovebox. By staying proactive with your RV roof maintenance, you'll save money, protect your investment, and enjoy more worry-free adventures on the road.
FREE RV Maintenance Checklist Spreadsheet
A printable and editable spreadsheet to help you stay on top of RV maintenance tasks. Organized by frequency, with space to add notes and track completion dates, so you can keep your RV in top condition year-round.
By submitting this form, you'll receive our newsletter and the free download. You can unsubscribe at any time.